A slightly later start today, as I had other stuff to do first. I started by washing the skirting boards with sugar soap. Sugar soap is great for cutting through grime, grease and grot, but do remember it is caustic, so always wear gloves when using it, and mop up any spills immediately. Rinse with clear, cold water afterwards, and leave to dry. Then the first coat of gloss was applied. I also painted the large window.
The fireplace is a disgrace. It is made from plasterboard, hardboard and scraps of waste wood. The previous DIYer had stayed loyal to his standards of craftsmanship here. Just look at this : -


I've decided to cover this eyesore with veneer. I bought some sheets of walnut veneer on the internet. Walnut veneer is a by-product of the nut industry. When a walnut tree has passed its best, and is not viable any more, it is felled and the timber is used for furniture making. Thin layers of wood can be cut from the tree, which are used to cover baser wooden items. Modern machine cut veneers are incredibly thin - the thickness of a postcard, and are fragile, so handle with care. This is the veneer : -

The tools for veneering are seen here. From left to right, these are : -

- Weights - for pressing the veneer onto the surfaces
- Wallpaper stripping knife - for applying adhesive
- Wood Adhesive - for gluing the veneer to the surfaces
- Scalpel - for cutting the veneer
- Pencil - for marking
- Steel rule - for measuring and cutting
- Rags - for wiping excess adhesive from the job
- Craft Knife - for any other cutting
- Veneer - thin sheets of wood
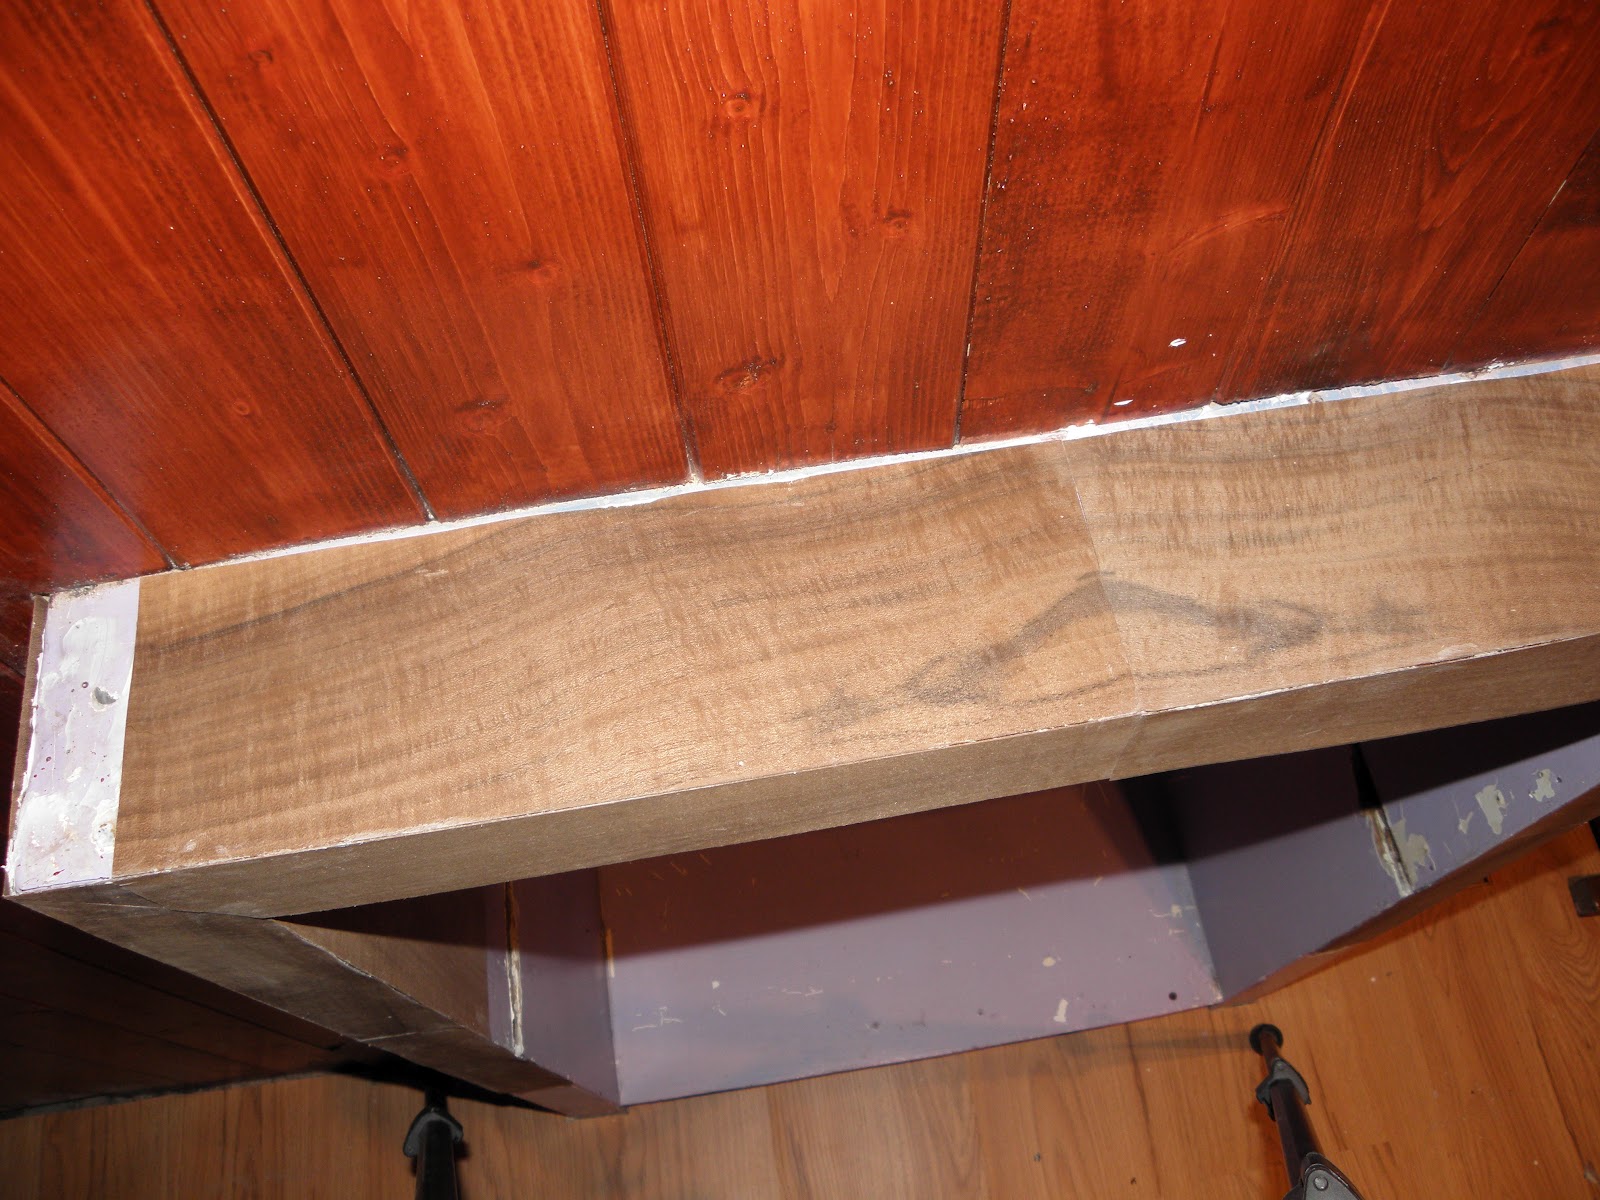
As has been said before - measure twice and cut once. Take your time and veneering is not difficult, it just needs a little patience. I use a surgical scalpel to cut the veneer, I find it gives a cleaner cut than a craft knife. If the sheets of veneer have been cut consecutively, it is possible to match the pattern of the grain in the wood. This can be seen here, on top of the fireplace, where two sheets meet in the middle : -
And here is the front, as it stands at present. I will need some more veneer, as I've decided to line the interior of the fireplace too.

When the glue is dry, I will French polish the veneer. But that will have to wait until it's all covered.
No comments:
Post a Comment